How to Install a LiftMaster Residential Swing Gate Operator
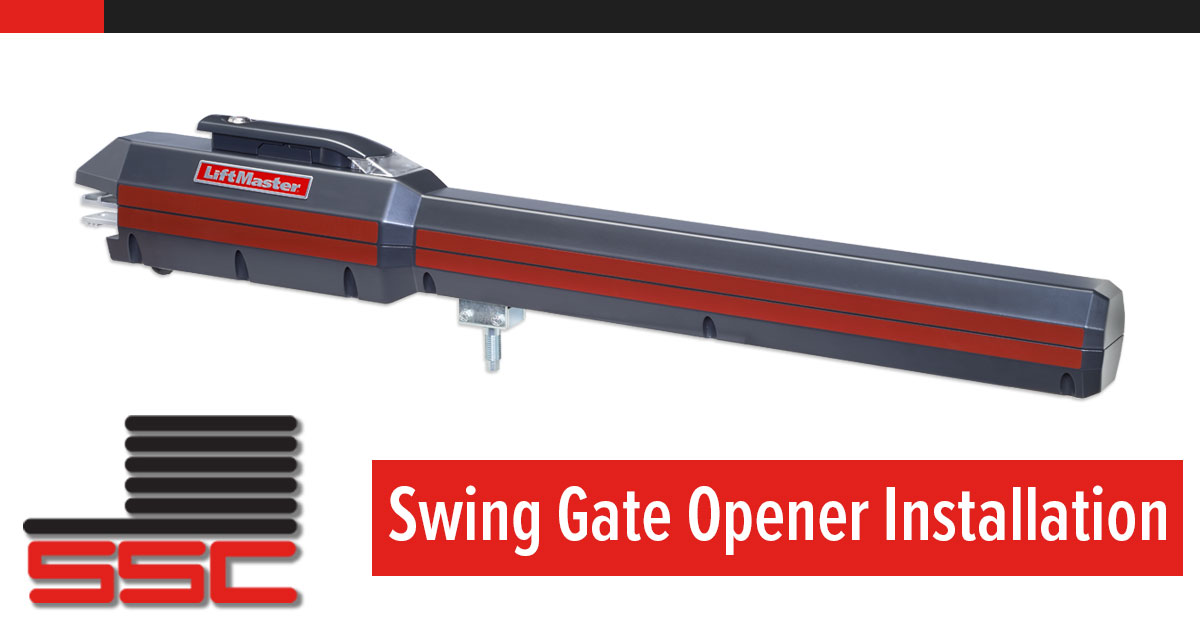
In this walk-through guide, we will review how to install a LiftMaster residential swing gate operator. We are confident that this guide will help you be a better installer and provide better customer service and value to your customers.
In this guide we will cover:
- Main components & operations
- Steps for an initial site check
- Bracket and swing gate opener installation
- Installation of AC-powered control box and wiring of the opener Setting all limits
- Adding additional components
Parts Used in this install:
- Opener (DC motor screwdriver assembly)
- Control box
- Post & gate mounting brackets
- Safety photo-eye
- Manual release key
- Gooseneck & number pad
- Safety warning signs
Before we get started, here are a couple of things to take note of:
- We are using a metal swing gate within the width and weight parameters of the opener.
- This is a pull-to-open installation. (Gate opens toward the inside of the property.)
STEP 1 – SITE CHECK
- Review the opening and support structures of the gate.
- Determine if you will need one gate or 2 separate gates.
- Make sure the gates move freely and level without obstructions.
- Ensure power is available to the mounting area of the opener and control station.
- Review areas of safety or entrapment zones. Determine where those zones could be when closing or opening the gate
- Install safety sensors in identified entrapment zones. Photo eyes, sensors, lasers and safety edges can be installed in various areas.
- Be sure to do this site check for each install as each site is different and has its own safety concerns.
UPSELL OPPORTUNITY: REVIEW THE PROJECT FOR ANY ADDITIONAL SALES OPPORTUNITIES SUCH AS ADDITIONAL REMOTES, VEHICLE SENSORS OR LOOP DETECTORS.
STEP 2 – INSTALLATION
With the site check complete, you are now prepared to install the proper swing gate operator. As a reminder for this guide, we are walking through the installation of the LiftMaster LA 500 residential swing gate operator.
- Locate the proper area to post the brackets onto the post and gate. Ensure mounting locations allow for a level installation.
- Place a measuring tape center under the gate and hinge point and measure out 8 1/2” and mark that spot.
- Then measure 7 3/4” from that spot to the inside of the post.
- Align the edge of the post bracket to the edge of your mark.
ATTACHING THE OPENER
- This can be anywhere from the top to the middle of the gate.
- Ensure the gate has a supporting structure for the mount.
PRO TIP: AVOID MOUNTING TO THE BOTTOM. DEBRIS FROM BOTH NATURE AND COMMON AREAS COULD COLLECT AND IMPEDE THE GATE.
- Once mounted, position a level on the post bracket and measure 35 1/2” from the center hole of the post bracket and mark.
- Measure 2 1/4” down from that mark and you have your gate mount set.
- Bolt or weld each mount into place. Be sure these are secure as these brackets will take the brunt of usage.
- Attach the swing gate operator to the mounts using the supplied hardware.
INSTALLATION OF THE CONTROL BOX
With the opener securely in place, we can move on to the installation of the control box. The mounting location for the control box will vary from each installation but the process is still the same.
The control box has variable locations, or knockouts, for mounting to walls, posts or columns.
When mounting the control box, ensure that it is in range of the opener’s power cable and far enough away from outside gate interference.
WIRING THE CONTROL BOX
Once you have the control box secure, we will work to wire the opener and power to the control box.
Feed the opener cable into the control box and through the weather-tight connector.
Remove the gate motor connector from the board and insert the wires to the corresponding openings. Secure by tightening the set screws. Refer to the opener’s manual to see which wire goes to which opening.
Now we can run the power wires and connect them to the control box.
SAFETY TIP: ENSURE THE AC POWER IS SHUT OFF TO YOUR INSTALLATION LOCATION.
With the control box installed and wired, we will now move to add additional swing gate accessories.
ADDING OUTSIDE ACCESSIBILITY
Outside accessibility includes number pads, button or card swipes. These items can easily be installed using a gooseneck mounting assembly. These mount easily to a secure mounting plate using 4 bolts. Once secure, a cap assembly is put into place to cover up the bolts for a finished look.
SETTING THE OPENER LIMITS
First, ensure the opener is not in manual mode. The LA 500 is designed with electronic controls so you can easily make travel limits and force adjustments. The amount of force needed to open and close the gate is calculated automatically by the electronic controls in the control board once you set the limits.
There are two options for setting limits on a swing gate operator.
- Control box board buttons
- 3-button remote control
For this guide, we will be using option one, the control box. To begin, set the switch to the one position on the control board.
Next, we will press and release the set-open and set-close buttons simultaneously to enter the “limit setting mode.” Next, we will press and hold the “move-gate buttons” to set the open and close limits.
Once you have the gate set where you want, press the “set close” or “set open” button for the first limit. Repeat this process to set the other limit for the gate, and, once again, press the set open or set close button.
Last, with the limits set we will cycle the gate open and closed using the test buttons. This will automatically set the force.
INSTALLING SAFETY PHOTO EYES
For this guide, we will also go over installing photo safety eyes. The mounting of the eyes will vary with each installation but, for this guide, we focus on showing the ability to counter the entrapment area. Install the photo-eye per the opener’s manual instructions and connect to the board for power.
If the installation you are working on requires additional photos-eyes or safety edges, most gates can accommodate.
BONUS – ADD A REMOTE CONTROL
Adding a remote is easy with the LA 500 swing gate opener. To add a remote, press the “learn” button on the control board and press and hold the first button on the remote control. That’s it!
Once all additional items have been installed, you will want to do one final check to ensure everything is working properly. Once complete, securely close the control box.
To watch the full video, along with other helpful videos, be sure to check out all our Solutions Education courses.
Are you signed up for Solutions Education? All courses are free to garage door dealers and installers. Invite your employees to follow this guide.
(*Must be a registered company of SSC to access the above registrations – Register Here)
Related:
Share:
Safety Disclaimer: In order to see all procedures completely, there may be safety measures that are not taken by our actors. Be sure to follow any and all proper safety requirements and refer to your manufacturer’s installation manual for details. Your health and safety is the #1 concern. Failure to understand/follow the recommendations in the course could result in property damage, personal injury or death. While all efforts are made to provide accurate information and guidance, it is impossible to predict all door circumstances. Accordingly, the user agrees that the user of this video; products and information contained herein are at your own risk. In no event shall Service Spring be liable for any property damage, personal injury/death, or any other loss or damage that may result from your use of the information and products provided on this video. All information contained within this site is provided “as-is” without warranty expressed or implied. User assumes all responsibility/risk for use of information and products purchased. If you have any doubts about your ability to perform the work safely, we recommend you contact another door professional to complete your repair.


