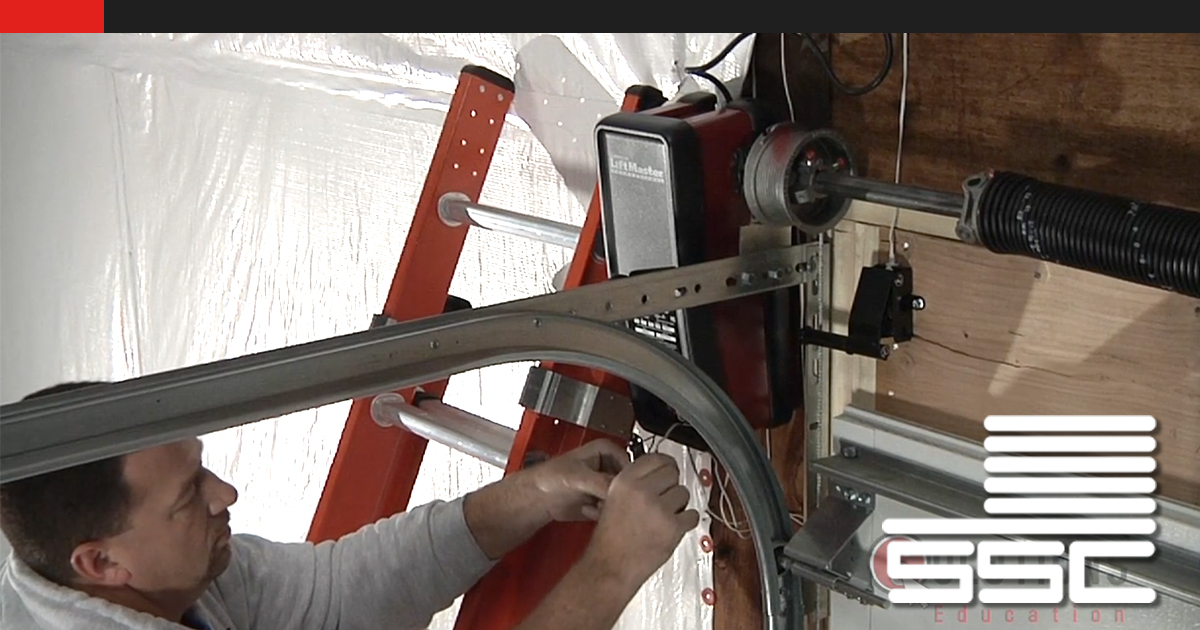
Installing a Residential Jack-Shaft Garage Door Operator
Make sure all parts are included:
- Operator
- Wall Bracket
- Shaft Collar
- Cable Tensioning Device
- Fasteners
- Emergency Pull Rope
- PBS 1
- Bell Wire
- Safety Eyes
- Safety Eyes Bracket
Mounting the Operator
Start by attaching the shaft collar to the shaft of the operator. Next, attach the wall bracket to the operator. Make sure not to tighten the wall bracket all the way down so you can adjust and level it on the wall later. Then, mount the operator to the torsion bar. Fasten the wall mount to the wall or jam and make sure your operator is level vertically. Finally, fasten the screws to the wall and tighten the screws on the operator.
Installing the Safety Eyes
Start by securing the mount to the jam at the bottom of the garage door. You want them about 6-10 inches from the ground.
Pro Tip: Use the first jam bracket as a guide to line them up horizontally.
Next attach the safety eye to the mount. There is a groove on the back of the safety eye where you can put the bolt that attaches to the bracket. The bracket slides onto the bolt, is secured with a wing nut, and will now attach to the mount we just put in.
Remember: Make sure to extend the eye past the farthest part of the door.
Run the bell wire from the safety eye up to the operator. Secure the wire up the jam with staples and make sure to leave slack before the first staple so that in case the safety eye gets bumped or moved, the wire will not rip.
Repeat this process on the other side of the door with the other mount, safety eye and wire.
Open the cover of the operator to reveal where the connections will be made. Connect both the black wires together and the white wires together that are coming from the safety eyes. Once the wires are together, put the black wires into the black connector and the white wires into the white connector on the operator.
Installing the Cable Tensioner
You want to screw the cable tensioner 3-4 inches from where the cable comes off the drum. This is installed to keep tension on the cable while in the fully up position. You will again want to staple the wire on the jam to the operator. These wires will go into either of the two green connections.
Installing the One-Button Push Station
Unscrew the cover and remove it. Next remove the tab so you can run wire through the it. Loosen the screws on the two terminal posts, take the supplied bell wire and separate the red and white wire. Put the one-button wire around the post and tighten the screw down on them. It doesn’t matter what side the red or white go onto. Screw the push button in a spot of your preference. The most common place is on the jam next to the garage door. After this, staple the bell wire around the jam and over to the operator. To connect the wire to the operator, run it through the bottom opening leaving a bit of slack. Separate the red and white wires. The red wire goes into the red connector and the white to the white.
Pro Tip: Leave the cover off until finishing the job. This will help save you time if there are any problems.
Installing the Emergency Release Cord
The reason for installing the emergency release cord is to “release” the operator and allow you to open the garage door manually. There is a black pull that hangs down from the operator with a key ring at the bottom. Take your release cord and run it through the key ring. Make sure to knot the cord a couple times ensuring it is secure, then cut off the excess cord. You are now ready to plug in the operator.
Setting the Limits and Force
To set the limits and force, locate the two buttons on the operator, one black and one purple. The black button is used to set the limits and the purple is used to set the force and sync the remotes. Start by pushing and holding the black button until the yellow LED comes on. Then push and hold it again until the door is at the desired open position. Then hit the wall button and the door will start to reverse and you can manually control it with the purple button.
Next, we will set the force. Hit the wall button again to move the door into the open position. Hit the purple button twice and the yellow LED will start to flash. Now push the wall button and cycle the door through 3 times.
You have now installed a residential jack-shaft style garage door operator!
Related:
Share:
Safety Disclaimer: In order to see all procedures completely, there may be safety measures that are not taken by our actors. Be sure to follow any and all proper safety requirements and refer to your manufacturer’s installation manual for details. Your health and safety is the #1 concern. Failure to understand/follow the recommendations in the course could result in property damage, personal injury or death. While all efforts are made to provide accurate information and guidance, it is impossible to predict all door circumstances. Accordingly, the user agrees that the user of this video; products and information contained herein are at your own risk. In no event shall Service Spring be liable for any property damage, personal injury/death, or any other loss or damage that may result from your use of the information and products provided on this video. All information contained within this site is provided “as-is” without warranty expressed or implied. User assumes all responsibility/risk for use of information and products purchased. If you have any doubts about your ability to perform the work safely, we recommend you contact another door professional to complete your repair.